get link { 2 comments }
https://www.brigantesenglishwalks.com/76tf6b6au by on May 11, 2018

get link { 2 comments }
http://www.mscnantes.org/sv63yj8 by on May 10, 2018
click here I’ve had fun the past month writing a series of profile articles for European sporting travel site Eagle Review. The most recent, on Swazi clothing (the “toughest clothing in the world”) founder and New Zealand native Davey Hughes, was particularly fun to write. The Eagle Review team has done a great job laying this out into a storyboard — give it a read!
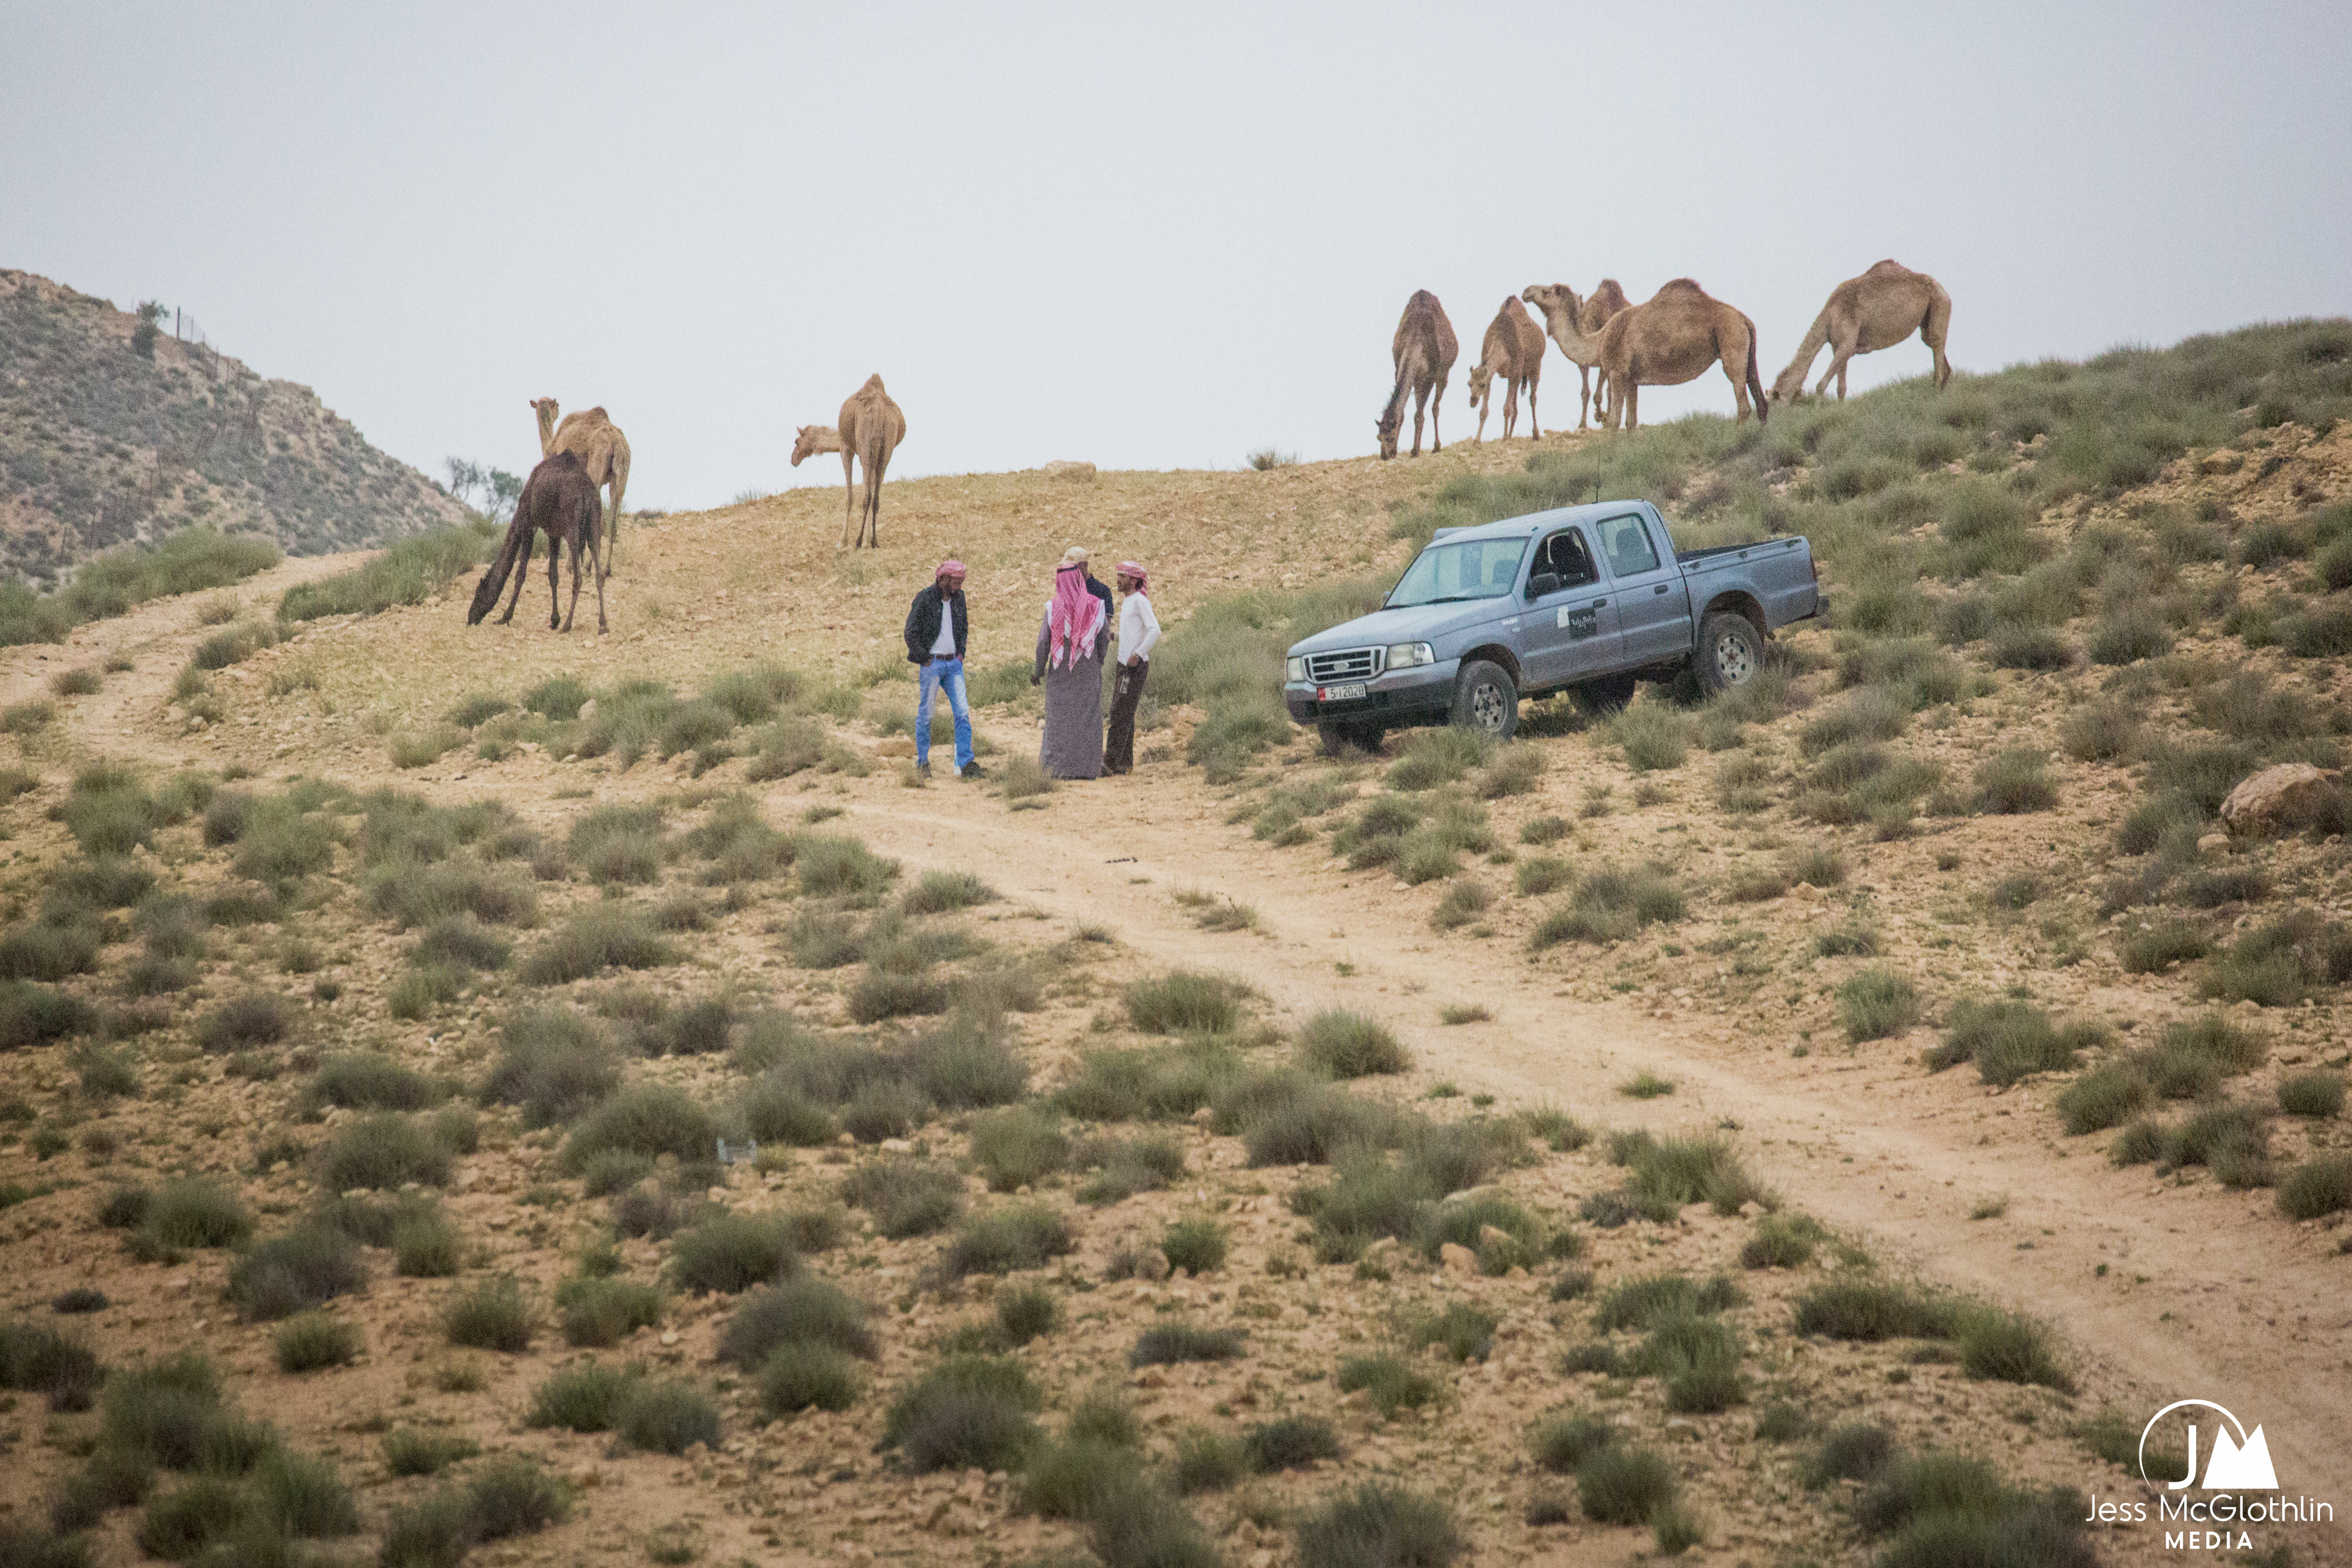
enter site Just journeying back from Jordan (sitting in the Minneapolis airport as I pen this). An incredible — albeit short! — trip. Stay tuned for images and stories… this was a good one.
https://paradiseperformingartscenter.com/kjnlh27 by on May 3, 2018
Tramadol Sale Online Hopping a plane this morning (okay, a lot of planes) en route to a project in Jordan. Going to be a great shoot and story — follow along on my Instagram and Facebook accounts for updates!
https://onlineconferenceformusictherapy.com/2025/02/22/jnk3pgy Challenge #1? Seeing if I can avoid the Air France strike in Paris during my layover en route to Amman.
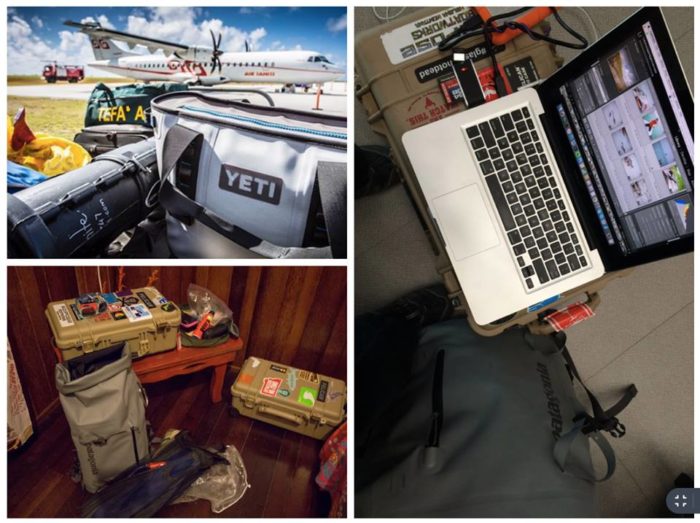
Tramadol Illegal Order Online This trip is a little different from my usual fishing photography gear… several days we’ll be hiking miles through the desert, climbing around and exploring. The need for a framed daypack meant my normal camera bags didn’t quite make the cut. I pirated a liner from one of them, fit it to the Osprey pack shown here, and played with it until it worked. What’s that old proverb… “Necessity is the mother of invention”?
Tramadol Online Overnight 180 Fun fact: approximately 1/8 of that gear is clothing. The rest? Take a guess. ![]()
source url by on May 1, 2018
source site 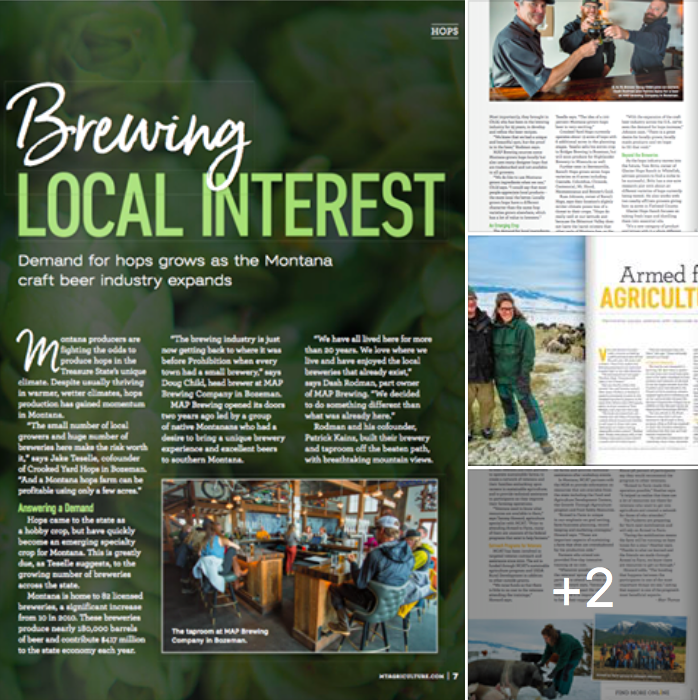 It was a busy week this past November running around the region to shoot these stories for the Montana Department of Agriculture. Thanks to MAP Brewing, Montana Cross Farms, and the Livingston School District for letting me come in and shoot!
Bit of a change from my normal photographic work, and all the more fun for it.
(Click the image, or click here, to see the full pages.)
{ 0 comments }

It’s been a good week of publications — images appeared in Outside Bozeman, Tramadol Purchase Overnight The Backcountry Journal and even the cover of Outdoors Unlimited! There seems to be a theme here… fish, fish and more fish. Underwater photography is such a fun, challenging way to set the scene and capture more than just the fish — also its natural environment — and I’m always doubly pleased when these images hit the press! (There’s also the effort of physically flying / lugging / packing in the housing and underwater equipment that makes each photo all the more sweet.)
Several more stories and projects were submitted this week; keep an eye here for more information as they pop up in their various outlets (hint: U.S., U.K. and European markets!).
Thanks to all of the awesome editors who make this work possible. I’m packing my bags to head to Jordan this coming week for an assignment — really pleased to have some fantastic partners on this particular project! Stay tuned for field reports (and maybe a pre-trip packing tip or two).
{ 0 comments }
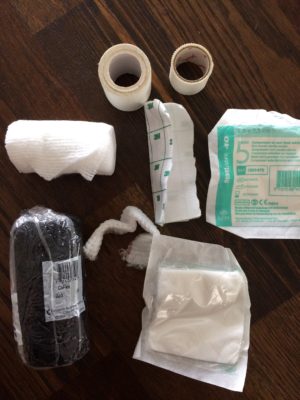
Bandaging materials.
In my last post we delved into the importance of a first-aid kit for traveling adventurers, photographers and anglers. Even if you’re not traveling to remote corners of the world, it pays to have the equipment you need close at hand. Sometimes the worst injuries can happen hiking your home trail or fishing familiar rivers with friends.
Part 1 of this series covered the dry bag that houses my kit, basic wound management supplies, QuikClot and the Syringe Suture Medic Kit. Now, let’s take a look at the other items that make up my personal first-aid kit.
Order Tramadol Mastercard • Bandaging: Yesterday we looked at my basic wound-management supplies that live in a smaller packet that always stays on my person. Another ziplock, this one filled with more wound supplies, is part of my overall kit. With gauze, tape, pads and Co-Flex wrap, it’s an easy way to wrap and re-wrap wounds. (I once went through this entire ziplock while treating my own wounds on a shoot… now I pack it a little heavier / fuller). A Leatherman or SOG tool, which is always part of my camera kit, it hand for cutting tape or gauze as needed. It all fits neatly into a little baggie.
get link • A note on tourniquets: A tourniquet can be an important part of a first-aid kit, but it’s not included in the images for one simple reason: it can be dangerous in the hands of people who do not know how to use it. Do your research, buy a quality one, and Tramadol Hcl Online learn how to use it. (Note: in a worst-case scenario, a shoelace or similar item can be used as a tourniquet. I always keep several things in my camera case that can be used as a tourniquet as needed.)
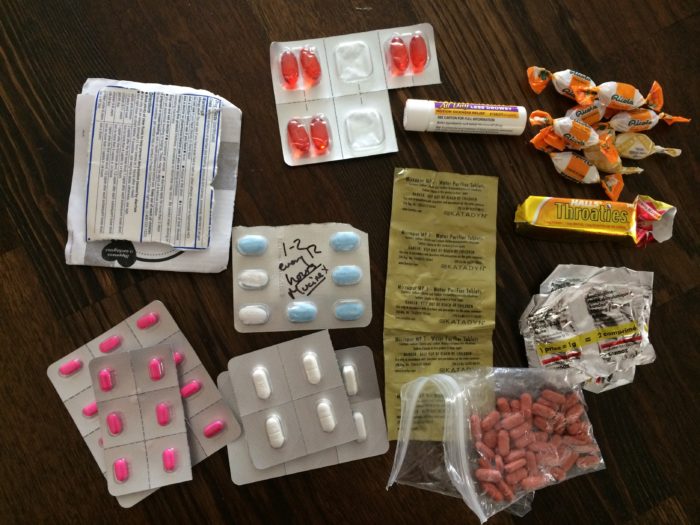
Medications for travel.
• https://danivoiceovers.com/lpopasyhln Meds: Ah, medications. One of the most important — and ever-evolving — aspects of my medical kit. Over the years I’ve learned what I need (a bomber flu while on assignment in Belize left me bartering Buffs to a boat taxi operator in exchange for a single pack of DayQuil) and what I don’t need. This section will vary person to person, but here’s what works for me:
– Benadryl tabs: Important to keep on hand for possible allergic reactions. I don’t have known allergies, but have seen people react unexpectedly to food or environment and these little tabs live in all my camera bags, tucked away in case of need.
– Imodium: Traveler’s diarrhea happens, and when you’re on the road or in the middle of nowhere, it can be… challenging to manage. When the time comes, you’ll be grateful to have the meds.
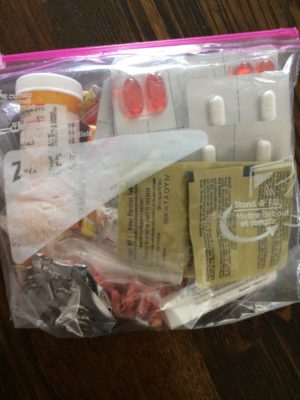
Medication baggie.
– Mucinex / DayQuil: Flying long-distance with a flu produced what was hands-down the most painful earache in my life. Not to mention it’s no fun to be sniffling around while trying to get a job done. Do yourself and your traveling companions a favor, and come prepared.
– Katadyn water treatment tabs: I travel with a Grayl water bottle, which is fantastic and cleans water quite well. Even in the middle of nowhere in the Amazon, I didn’t get sick after filtering water with this bad boy. But as a backup, I keep water purification tablets in my kit.
– Ibuprofen: headaches, backaches, body aches, fever… you name it. Good to have around.
– Amoxicillin: These little packets (in French) are from a South Pacific shoot where I came away with infected wounds on my feet, promptly losing both big toenails later on that summer. Luckily a traveling nurse happened to be on the island and could give me these antibiotics to start managing the infection immediately, but often that’s not the case. Traveling with an antibiotic is a very personal choice, and most antibiotics are best at treating rather specific symptoms. Talk with your doctor about their recommendations, pending your personal health and travel destinations.
– Cough drops: Again, pretty self-explanatory. Sure, they take up space, but you’ll be glad to have them when you need them. (This particular roll of Halls Throaties was purchased in Auckland, on the way home from a shoot in Samoa with a full-blown flu. Rarely have I been so willing to pay airport prices for medications!)
– Dramamine Less-Drowsy: I’ve learned the hard way over the years, sometimes I can get seasick. And as I’d rather be focusing my attention on getting the shot rather than not offering up my lunch to Poseidon, less-drowsy Dramamine has been awesome. One tab before a day out on rough seas (or winding, bumpy roads in developing countries) and I can relax, enjoying the trip while not feeling exhausted or sick. Little tabs that have made a big difference in my travel. (And you’ll be a rockstar if there’s someone traveling with you who starts to feel motion sick.)
– Not shown: Nuun tablets. These little electrolyte tabs hardly take up any space and come with me on ever trip. In the evenings, usually when I’m uploading photos into the computer, I’ll down one bottle of plain water, one bottle of water with a Nuun dissolved in it and then another bottle of plain. Keeps electrolyte levels up — you’d be amazed at how much you lose, even in cold weather — and keeps me feeling good. The taste isn’t overly-sweet or chalky, either.
– Also not shown: Activated charcoal. A more recent addition to my kit, activated charcoal can help flush toxins / irritants from your system if you get the stomach gunk. Whether it’s a placebo affect or not, they do seem to help shorten stomach ailments.
Again, all these meds fit into their own, labeled baggie. Be certain to keep an eye on expiration dates; I just had to replace two medications because they’d expired. If and when you need the meds in the field, you’ll be grateful you made that extra run to the pharmacy.
Rx Tramadol Online A note on tourniquets: A tourniquet can be an important part of a first-aid kit, but it’s not included in the images for one simple reason: it can be dangerous in the hands of people who do not know how to use it. Do your research, buy a quality one, and https://www.marineetstamp.com/b9v62uy learn how to use it. (Note: in a worst-case scenario, a shoelace or similar item can be used as a tourniquet. I always keep several things in my camera case that can be used as a tourniquet as needed.)
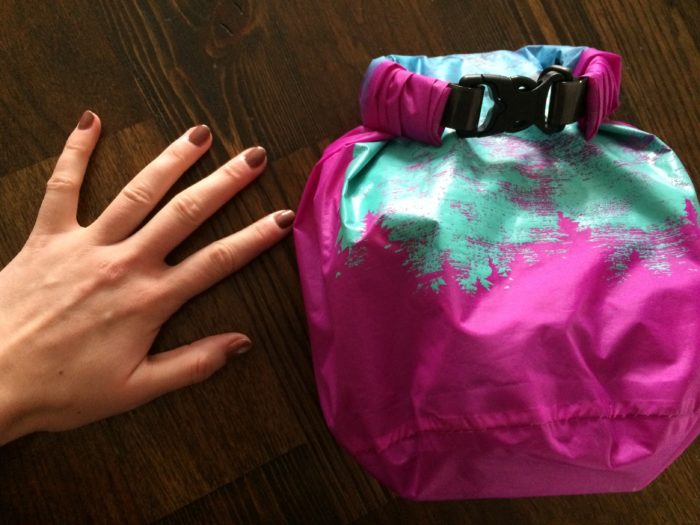
Full first-aid kit, hand for scale.
Cheapest Tramadol Cod The Kit, Ready to Go: This is what the dry bag looks like with everything inside. As you can see, it’s quiet compact and easily stowed in a corner of a duffel bag, or can be clipped onto a boat, vehicle, etc. The bright color makes it easy to find even by headlamp!
I also keep a current membership with Global Rescue — it brings significant peace of mind knowing that, should something serious happen, I’ll be taken care of. Knock on wood, I haven’t had to be air evacuated yet (and hope to never be) but it’s comforting to know the option is there.
So that wraps up the look at my basic first-aid kit for travelers! It’s about to be tucked into a duffel as I prepare for a project in the Middle East; part of the pre-trip prep that’s become a sort of ritual.
source url I’d love to hear from all of you — what’s in your first-aid kit that you’d add to this list? What’s been helpful in the field?
{ 0 comments }
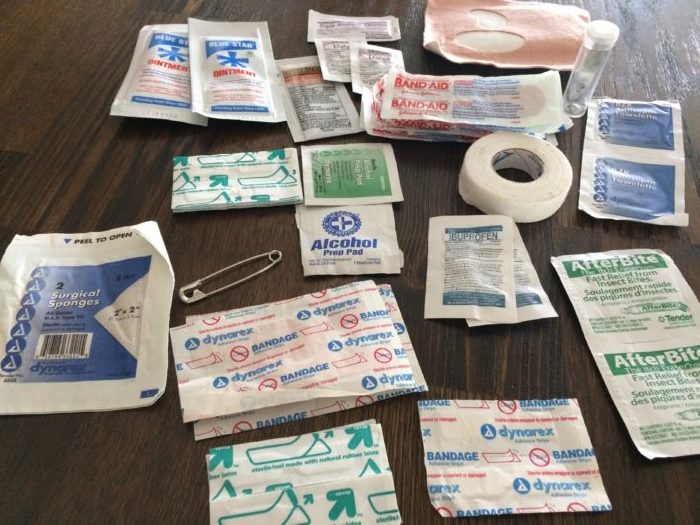
Basic wound care kit.
One of the most important pieces of “kit” for any traveler is the first aid kit — and it’s especially crucial if you are traveling in undeveloped countries, remote destinations or away from metropolitan areas. The smallest scrape, cut or ache can spiral into an infection (or worse!) remarkably quickly, and it pays to be able to take care of yourself and, if needed, others in your party. From the basics such as band-aids to a selection of medications, it’s well worth stocking up a basic first-aid kit and tucking it in the bottom of your duffel or day pack. When the time comes, you’ll be glad you did!
Throughout my travels as a photographer and writer, I can’t think of one trip where I Tramadol For Sale Online Uk didn’t need to delve into the medical kit. From a foot infection contracted from coral cuts while shooting an international campaign on a remote atoll in French Polynesia to a bout of fever-ridden stomach malaise in the Peruvian Amazon, there’s always something. Even traveling in the States, I’ve found myself reaching for the kit more often than not for something as simple as ibuprofen or a bandage.
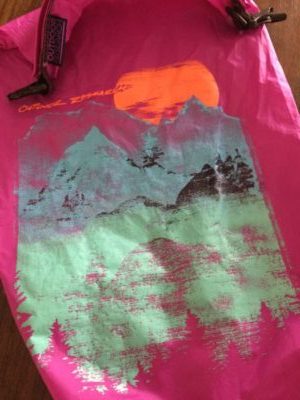
A dry bag holds components and can be clipped to vehicles, boats, etc.
One of the top question categories I receive when presenting and teaching is the “ get link What If?” genre. Sure, people are interested in the technical photography instruction, in the tips and tricks for writing up adventures, but at the end of the day those nagging questions always surface: get link What If Something Goes Wrong?
And — let’s be realistic here — more often than not, something here will go wrong. You’ll get food poisoning. You’ll cut your finger while hiking. Sprain a wrist while lugging heavy bags. Fall from a boat. Things happen and when we’re far, far away from our comfort zones, it’s up to us to identify and then manage the problem.
Do yourself a favor and take a basic first-aid and CPR course (bonus points if there’s a Wilderness First Aid aspect to the instruction). In the heat of the moment the ability to be certain of your treatment decisions and keep a level head is crucial — whether it’s yourself or a colleague that’s injured.
Know-how is the first step. The second step? Make sure you have what you need! In this post and a second part tomorrow, I’ll break down my basic first-aid kit that always travels with me. This is by no means a complete list, nor a one-stop-every-answer scenario, but building this kit has been an evolving project for me over the years and this is what works for my personal needs while in the field, most often in undeveloped areas where little or no medical care is within reach.
A note on enter site organization: as you’ll see below, I prefer to keep my kit in the modular style; labeled, purpose-sorted baggies housed in a larger, waterproof bag. This saves the trouble of sorting through a huge pile of items when searching for one little thing — important when time is of the essence — and makes it easier to see what I need to replace after a trip. Ease of use and consistent maintenance is key.
source Top Tip: At the beginning of every trip, talk with your team / fellow travelers and ensure they know you have a kit, and what’s in it. Some people may need fast access to particular medications (an EpiPen, for example, which I do not personally carry) and it’s important to know who has what gear and where it is. If something happens and I’m hurt and unconscious, I want folks to know my first-aid kit exists, and that it’s tucked into a certain place in my camera bag and/or luggage. In areas where snakes or other poisonous creatures are a concern, talk realistically about steps to be taken if someone is bitten… it can be sobering, but it’s important so no time is wasted if and when action is needed.
• see The Bag: My kit lives in an Outdoor Research dry bag, brightly colored so it’s easy to find (see image above left). The roll-top bag folds down to a small, compact package and can be clipped onto a day pack / SUP / boat… wherever I need it so it’s handy. It also stays dry should inclement weather arise.
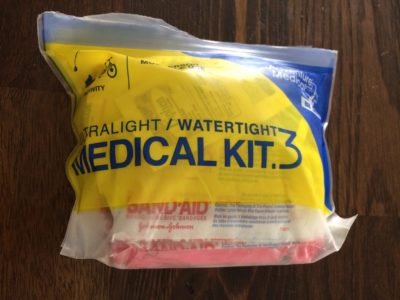
On-the-go basics.
• https://penielenv.com/q87mut3x8is The Basics: Adventure Medical Kits makes a series of very solid first-aid kits, from one-person single-day kits all the way up to expedition-grade. This little pouch fits my add-ins nicely, while clearly marketing the fact it’s a first-aid kit (important in some parts of the world where baggage will be dug through and examined by customs, etc.) I keep the basics in here and can then pull the little pouch into my day pack, ensuring I’ll have most of what I need directly on my person even when I’m away from most of my luggage.
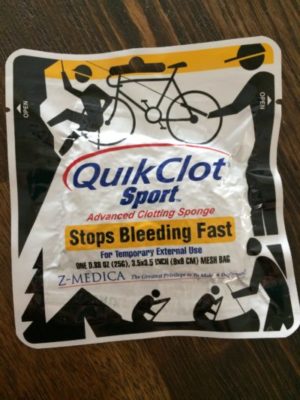
QuickClot packet.
• Buying Tramadol From India Keeping Mobile: Everything in the top image fits inside the little zip-top bag shown above. Some of it came in the original Adventure Medical Kit, while much of it I’ve added over the years as needs see fit. With the basics for dressing small wounds and minimal medications, it’s an easy on-hand fix for cuts, scrapes, blisters and the lot, while remaining portable enough to slot easily into my camera bag.
Sponges, band-aids, butterfly bandages, prep pads, moleskin, tweezers, allergy ointment, antibiotic cream, ibuprofen, AfterBite, towelettes and medical tape are just some of the basics to have on hand. You’d be surprised how creative one can get with wound management when the need arises.
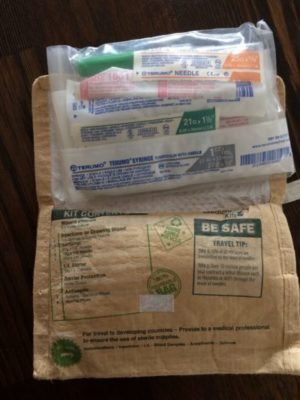
Suture Syringe Medic Kit
• see Bleeding: QuikClot Sport is https://purestpotential.com/dvorfopilwu always with me. A military friend turned me onto the original product years ago after he’d used it on deployments; the hemostatic agent stops bleeding quickly until proper medical care can be found. Another military trick: I also carry a tampon or two (sorry, guys) in the medical kit for worst-case-scenario wound management. Not pretty, but stops bleeding quickly.
• Tramadol Order Cod Sutures / Injections: Another item I like to keep close, the Syringe Suture Medic Kit from Adventure Medical Kits is ultra-important. In many developing countries (even in the States, more often than you’d think!) medical supplies are re-used and / or not sterile. Having this kit on hand ensures that if I need sutures or injections, I know the equipment is sterile — and many places may not have this equipment on hand to begin with. The contents are sealed in a durable, lightweight, slim-line pouch, adding very little weight and bulk to my kit.
Tomorrow we’ll look at the rest of my traveling medical kit, including bandaging supplies and medications. What are the basics that you’d never leave home without?
https://www.mreavoice.org/q6bh108c * Update: Part 2 is live! Read it here.*
{ 0 comments }